 0
 0
You can remove sticky, stubborn stains from clothing by treating them within 24 hours using a combination of ice to harden the residue, a grease-cutting dish soap to break down oils, and warm water to lift the stain completely. This three-step method works on everything from gum and tree sap to adhesive labels and candy, saving your favorite wardrobe staples without a trip to the dry cleaner.
The frustration of discovering a sticky mess on your go-to outfit is real, but here’s the good news: most sticky stains respond beautifully to household items you already own. Whether it’s melted candy on your classic pieces or mysterious adhesive on your newest find, the key lies in understanding what makes these stains cling so stubbornly in the first place. Unlike water-based stains that respond to simple laundering, sticky substances contain oils, sugars, or synthetic polymers that bond to fabric fibers and actually get worse with heat.
The trick is addressing both the sticky surface layer and the underlying residue that penetrates the weave. Speed matters, timing saves fabric, and the right technique means you won’t sacrifice comfort or style by retiring clothes prematurely. Most sticky stains surrender in under 15 minutes with the proper approach, and you’ll protect your investment in quality clothing while keeping your wardrobe rotation intact.
What You’ll Need to Tackle Sticky Stains
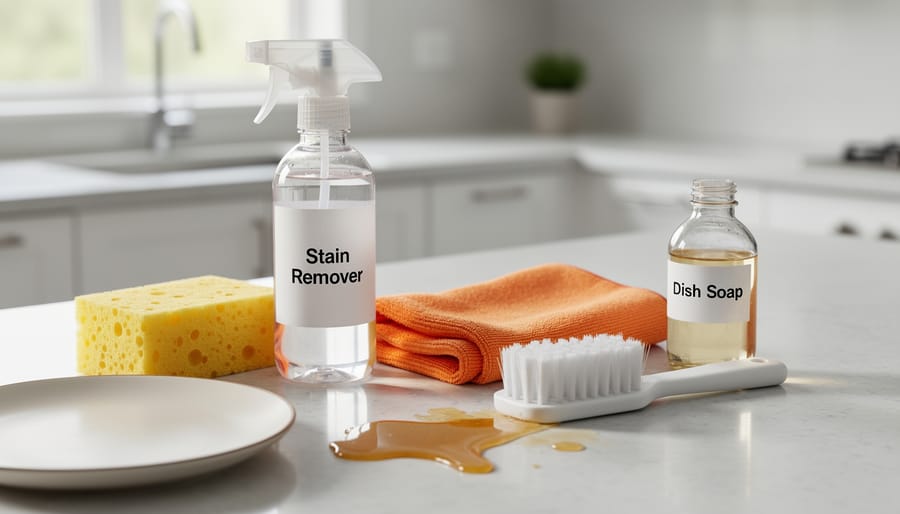
You probably have most of what you need sitting in your kitchen right now. Effective sticky stain removal doesn’t demand expensive specialty products, just a few smart household staples and the right approach. Here’s what to gather before you start tackling that stubborn residue.
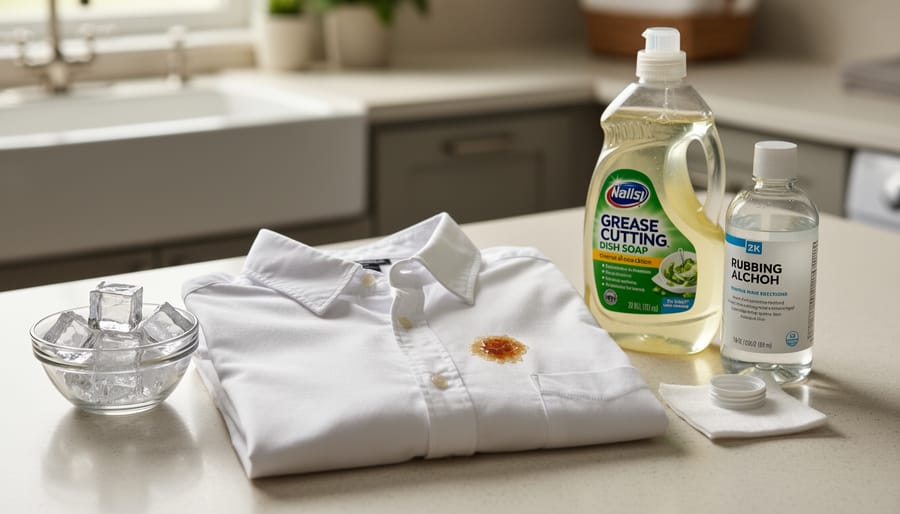
- Dish soap (Dawn or similar grease-cutting formula works best for breaking down sticky substances)
- White vinegar (acts as a gentle solvent and deodorizer)
- Baking soda (creates a mild abrasive paste for lifting residue)
- Rubbing alcohol (70% or 91% isopropyl, excellent for adhesive and gum)
- Ice cubes or a freezer bag (hardens sticky materials for easier removal)
- Clean white cloths or paper towels (colored fabrics can transfer dye)
- Dull knife, spoon, or old credit card (for scraping without damaging fibers)
- Small bowl for mixing solutions
- Old toothbrush (perfect for working treatment into fabric weave)
If you’re dealing with particularly stubborn gum, consider checking out a step-by-step gum removal guide for targeted techniques that build on these basics.
For those who want specialty options, enzyme-based stain removers like OxiClean or Zout can speed up the process, especially on protein-based sticky messes. Commercial adhesive removers such as Goo Gone work well too, though test them on hidden fabric first. That said, the household items listed above handle 90% of sticky stains without requiring a special trip to the store. The real difference comes from technique and patience, not expensive products.
Before You Start: Important Safety and Fabric Checks
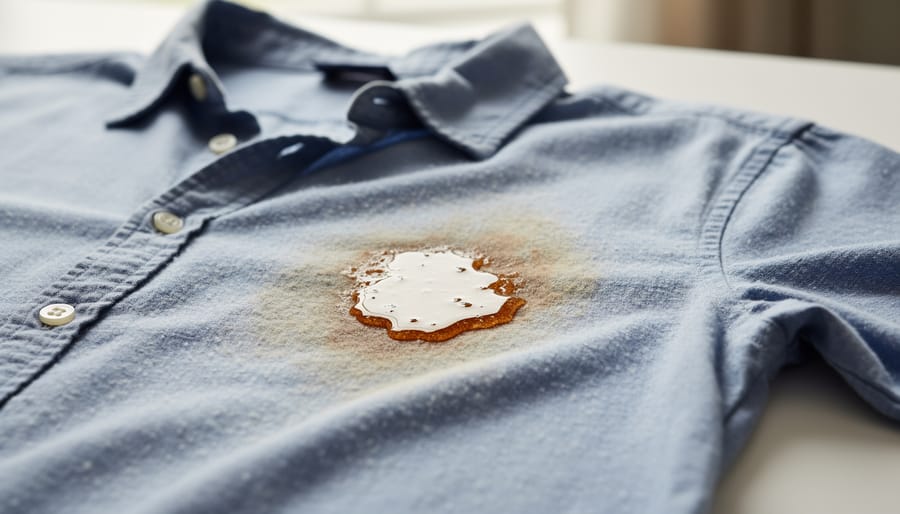
Before you reach for any cleaning solution, take sixty seconds to check what you’re working with. That pause can mean the difference between saving your favorite shirt and accidentally setting a stain permanently or damaging delicate fabric beyond repair.
Start by flipping the garment inside out and locating the care label, it tells you exactly what the fabric can handle. If the label says “dry clean only,” stick to gentle spot treatments with minimal moisture and consider professional cleaning for stubborn stains. For hand-wash or delicate items, use cool water and skip harsh scrubbing motions that can distort fibers.
Always test your chosen stain remover on a hidden seam or inside hem first. Dab a small amount, wait five minutes, then blot with a white cloth to check for color bleeding or fabric damage. This is especially critical for dark colors, prints, and any everyday essentials you wear on rotation.
Watch for delicate fabrics like silk, wool, rayon, and acetate. These need gentler treatment: cooler water, less agitation, and diluted cleaning solutions. When in doubt about a fabric’s resilience, err on the side of caution with milder methods first. You can always escalate your approach, but you can’t undo damage from an overly aggressive first attempt.
The Step-by-Step Process for Removing Sticky Stains
Step 1: Act Fast (But Don’t Panic)
The moment you notice a sticky stain, blot gently with a clean cloth or paper towel to absorb what you can. Fresh stains are easier to lift because the substance hasn’t fully bonded with fabric fibers yet. That said, don’t stress if you’ve discovered an older stain, it just means you’ll need a bit more patience with the treatment process.
Avoid rubbing the stain, which pushes sticky residue deeper into the weave and spreads it across a larger area. Instead, work from the outside edges toward the center using light, lifting motions. If the substance has already dried or hardened, resist the urge to pick at it aggressively. You’ll have better results using the freezing method in the next step to safely remove the bulk without damaging fibers.
Step 2: Remove Excess Without Spreading
The key to successful sticky stain removal is getting rid of the bulk material without pushing it deeper into the fabric fibers. Start by assessing what you’re dealing with. If the sticky substance is thick and pliable, grab a dull butter knife or the edge of a credit card. Hold the fabric taut and gently scrape from the outside edge of the stain toward the center, lifting the residue away. Work slowly and avoid rubbing, which only embeds the stain further.
For gum, adhesive, or anything particularly gooey, cold is your best friend. Place the garment in a plastic bag and freeze it for at least two hours. The sticky substance will harden, making it easy to crack and peel off in chunks. Alternatively, rub an ice cube directly on the stain until it firms up. Once hardened, carefully scrape away the frozen residue. You’ll be left with a much smaller stain to treat.
Step 3: Choose Your Treatment Method
The secret to successful stain removal lies in matching your treatment to the stain’s composition. Sticky stains fall into two main categories, and using the wrong approach wastes time and effort.
For grease-based sticky stains like adhesive residue, tree sap, or oil-based substances, you need a solvent that breaks down oils. Reach for dish soap (designed to cut grease), rubbing alcohol, or white vinegar. These work by dissolving the oily components that make the stain cling to fabric fibers.
Sugar-based sticky stains like candy, gum, or soda respond better to warm water and gentle detergent. The key here is dissolving the sugar molecules without spreading them further.
Not sure which type you’re dealing with? Start with dish soap, it’s effective on both categories and gentle enough for most fabrics. Apply a small amount directly to the stain, work it in gently with your fingers or a soft brush, then let it sit for five to ten minutes before moving to the soaking stage.
Step 4: Pre-Treat and Soak
Now that you’ve removed the excess sticky residue, it’s time to break down what’s left in the fabric fibers. Apply your chosen treatment solution directly to the stained area, work it in gently with your fingertips or a soft-bristled toothbrush, using small circular motions. You want the solution to penetrate the fabric, not just sit on the surface.
Let the garment soak in cool water with a bit of dish soap for 15 to 30 minutes. For stubborn stains, extend this to an hour. During soaking, gently massage the stained area every 10 minutes or so. This agitation helps loosen the sticky particles without being too rough on the fabric.
If you notice the stain lifting, that’s your sign the treatment is working. Don’t scrub aggressively, gentle, repeated pressure does more than harsh rubbing, which can damage fibers or spread the stain deeper into the weave.
Step 5: Wash and Verify
Once you’ve pre-treated and soaked the stain, it’s time for the wash, but don’t just toss it in the machine on autopilot. Check the garment first: if you can still see or feel any sticky residue, give it another quick treatment rather than hoping the washer will finish the job. Wash the item in the warmest water the care label allows, using your regular detergent. Skip the dryer completely at this stage.
After washing, inspect the fabric while it’s still damp. Hold it up to good light and run your fingers over the former stain area. Any remaining stickiness, discoloration, or sheen means the stain isn’t fully gone. If it’s clean, air-dry it on a flat surface or hanging rack. If you spot traces, repeat the pre-treatment and wash again. Heat from a dryer will permanently set whatever remains, so this verification step isn’t optional, it’s your last chance to save the garment. Once it passes the damp-fabric test and dries completely clean, you’re done.
Stain-Specific Solutions That Actually Work
Different sticky stains require different strategies, even though they share the same basic removal process. Here’s what actually works for the most common sticky culprits you’ll encounter.
Chewing Gum
Freezing is your best friend here. Place the garment in a plastic bag and freeze for at least two hours until the gum hardens completely. Once frozen, use a dull butter knife to crack and lift the gum away from the fabric, it should snap off in pieces. For any remaining residue, apply a small amount of peanut butter or coconut oil (yes, really), let it sit for three minutes, then wash with dish soap and warm water. The oils break down the gum’s sticky polymers without damaging your clothing.
Candy and Sugar-Based Stains
These dissolve easily in warm water, but you need patience. Soak the stained area in warm (not hot) water for 15 minutes to soften the candy, then gently work it loose with your fingers. Apply liquid dish soap directly to any remaining stickiness, rubbing it between your fingers to create a lather. The surfactants in dish soap cut through the sugar residue quickly. Rinse thoroughly, sugar residue attracts dirt if left behind.
Adhesive Residue (Labels, Tape, Stickers)
Ice cubes work surprisingly well. Rub an ice cube over the adhesive for 30 seconds to harden it, then scrape gently with a credit card edge. For stubborn residue, dab rubbing alcohol onto a cotton ball and press it against the sticky spot for one minute. The alcohol dissolves most commercial adhesives without affecting fabric dyes. Wash immediately after to remove alcohol residue.
Tree Sap and Resin
Rubbing alcohol is your go-to solution. Apply it generously to the sap, let it penetrate for two minutes, then blot (don’t rub) with a clean white cloth. The sap will transfer to the cloth. Repeat until no more sap lifts off, then treat with dish soap before washing. Hand sanitizer works in a pinch since it contains alcohol.
Oil-Based Sticky Substances
Think maple syrup, honey mixed with butter, or oily food residues. Sprinkle cornstarch or baking soda over the stain to absorb excess oil, wait five minutes, then brush it off. Apply dish soap directly without water first, it’s designed to cut grease, and work it in gently. Add water only after the soap has penetrated, then rinse and launder.
Makeup (Lipstick, Foundation, Mascara)
These combine oils, waxes, and pigments. Apply rubbing alcohol or makeup remover to the stain, working from the outside toward the center to prevent spreading. For stubborn lipstick, try hairspray (the alcohol in it works wonders), spray it on, wait 30 seconds, then blot with a damp cloth. Follow with your regular pre-treatment and washing routine.
How to Know When the Stain Is Really Gone
Even after washing, sticky stains can leave behind traces that aren’t immediately obvious. Learning to spot these remnants before they set permanently will save you from disappointment later.
Check the stained area while the garment is still damp. Run your fingers over the spot, truly clean fabric feels uniform with the surrounding material. If you detect a slightly tacky or stiff patch, residue remains. Hold the fabric up to natural light and examine both sides. Sticky substances often leave a faint sheen or discoloration that’s easier to see when wet.
If you spot traces, resist the urge to toss the item in the dryer. Heat will bond any remaining residue to the fibers, making it exponentially harder to remove. Instead, repeat the pre-treatment process. Apply your chosen solution directly to the lingering spot, let it sit for 15-20 minutes, then wash again. Sometimes stubborn stains need two or three treatment cycles, especially if they’ve been sitting for a while.
For particularly resistant stains that survive multiple home treatments, professional dry cleaning might be your best option. Cleaners have access to industrial-grade solvents and equipment that can tackle what household methods can’t. This is especially true for delicate fabrics or expensive pieces where you can’t risk aggressive home treatment.
Once you’ve conquered the stain, a bit of prevention goes a long way. Keep a stain removal pen in your bag for immediate spot treatment when accidents happen. The faster you address fresh spills, the less likely they are to become the sticky nightmares that require this level of intervention. Your wardrobe will stay fresher, and you’ll spend less time battling stubborn marks.
Your Stain-Removal Questions, Answered
Can I use hot water on sticky stains?
Avoid hot water until you’ve completely removed the stain. Heat sets protein-based and sugar-based stains, making them nearly impossible to remove later. Stick with cold or lukewarm water during treatment, then wash in warm water only after you’ve verified the stain is gone.
What should I do with dry-clean-only items?
Gently scrape off any excess sticky residue, then take the garment to a professional cleaner as soon as possible. Point out the stain and explain what caused it. Attempting home treatment on delicate fabrics like silk or wool can cause permanent damage that costs more than professional cleaning.
How long can I wait before treating a sticky stain?
Fresh stains are easiest to remove, but you’re not out of luck if you discover an older one. Stains that are days or even weeks old can still respond to treatment, though they may require longer soaking times and repeated applications. The key is persistence rather than perfect timing.
What if the stain has already been through the dryer?
Dryer heat makes stains more stubborn, but not necessarily permanent. You’ll need more aggressive treatment: longer soaking periods, repeated applications of your chosen solution, and possibly a paste of baking soda and water left on overnight. Be patient and don’t give up after the first attempt.
Will stain removal fade my clothing’s color?
Always test your chosen treatment on an inconspicuous area first, like an inside seam. Most household solutions like dish soap and white vinegar are gentle enough for colorfast fabrics. Rubbing alcohol and hydrogen peroxide carry higher risks for fading, so use them cautiously on dark or vibrant colors.
Can I prevent sticky stains from happening in the first place?
Some sticky encounters are inevitable, but you can minimize damage by addressing spills immediately, keeping stain-removal essentials in your bag when you’re out, and choosing fabrics that look expensive but resist stains better, like tightly woven synthetics or treated cottons. Quick action is your best defense.
These answers reflect what you’ve learned throughout this guide: sticky stains are frustrating but manageable with the right approach. The techniques we’ve covered work because they address the chemistry of sticky substances rather than just scrubbing harder. When you understand why ice helps with gum, why dish soap breaks down adhesives, and why heat is your enemy until the stain disappears, you can tackle any sticky situation with confidence. Your favorite pieces deserve that second chance, and now you know exactly how to give it to them.